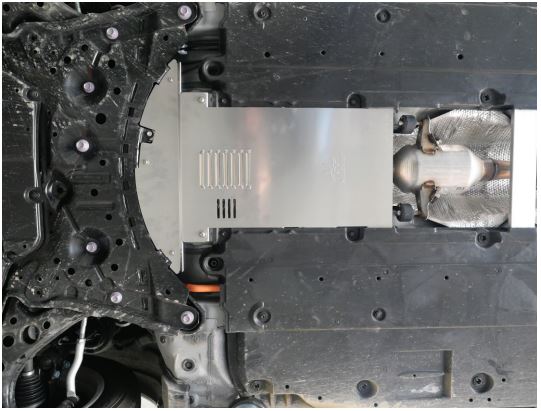
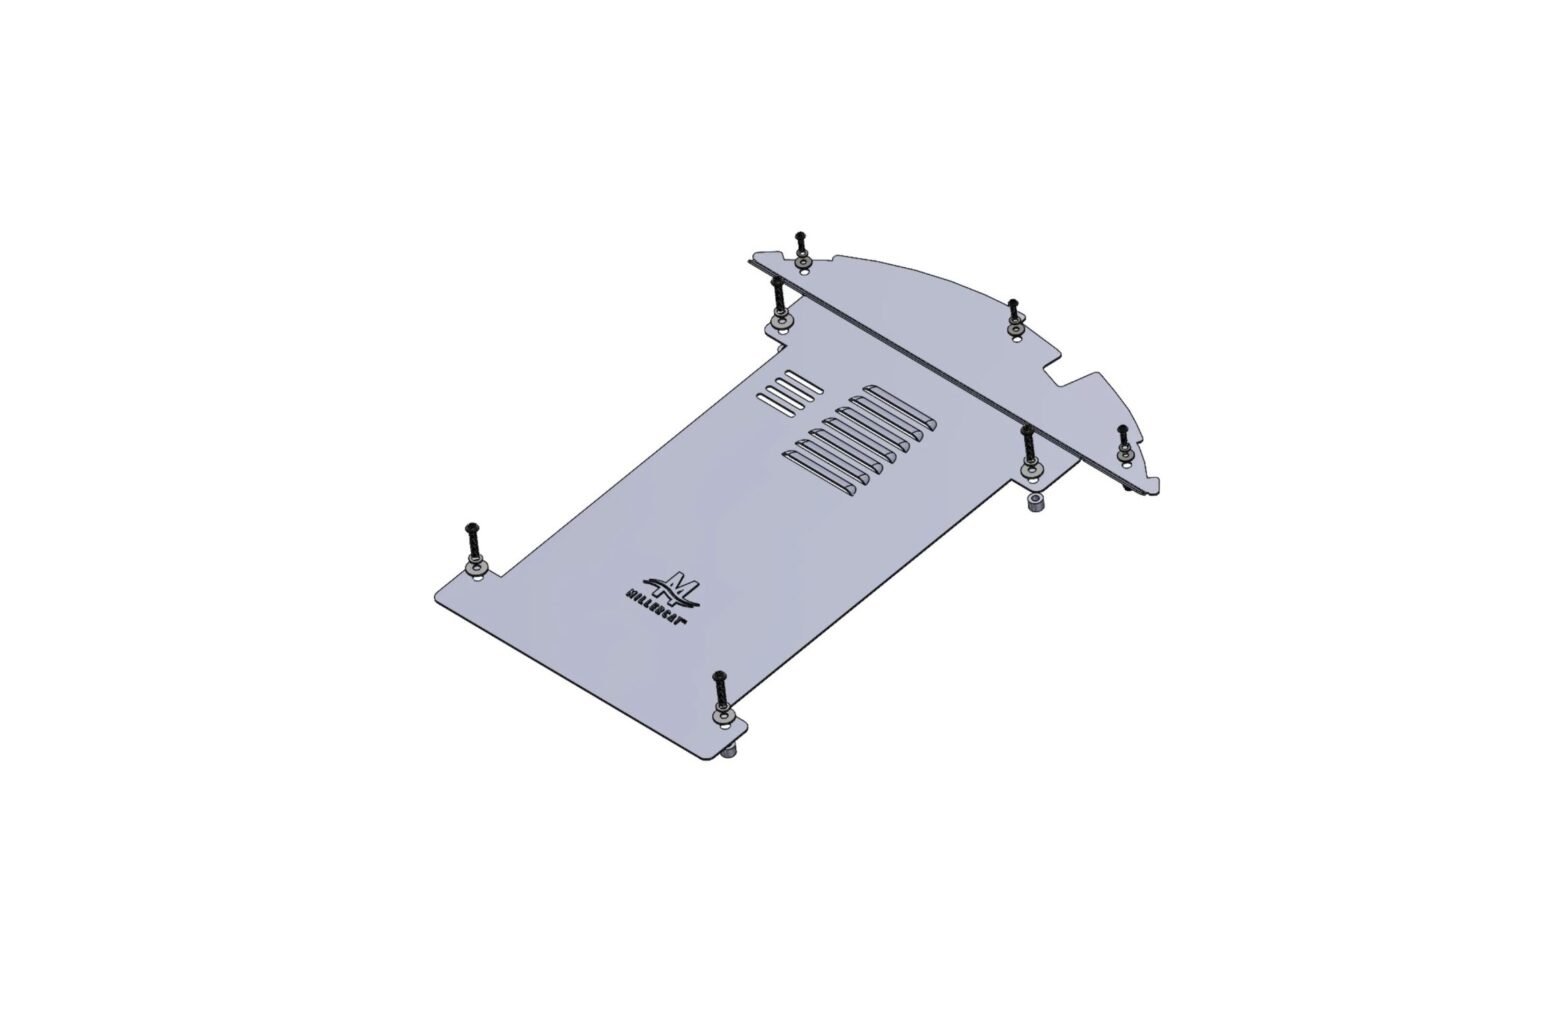
CATSHIELD CS-TOY-COR-G12 2020-2022 Toyota Corolla
Cat Shield User Manual
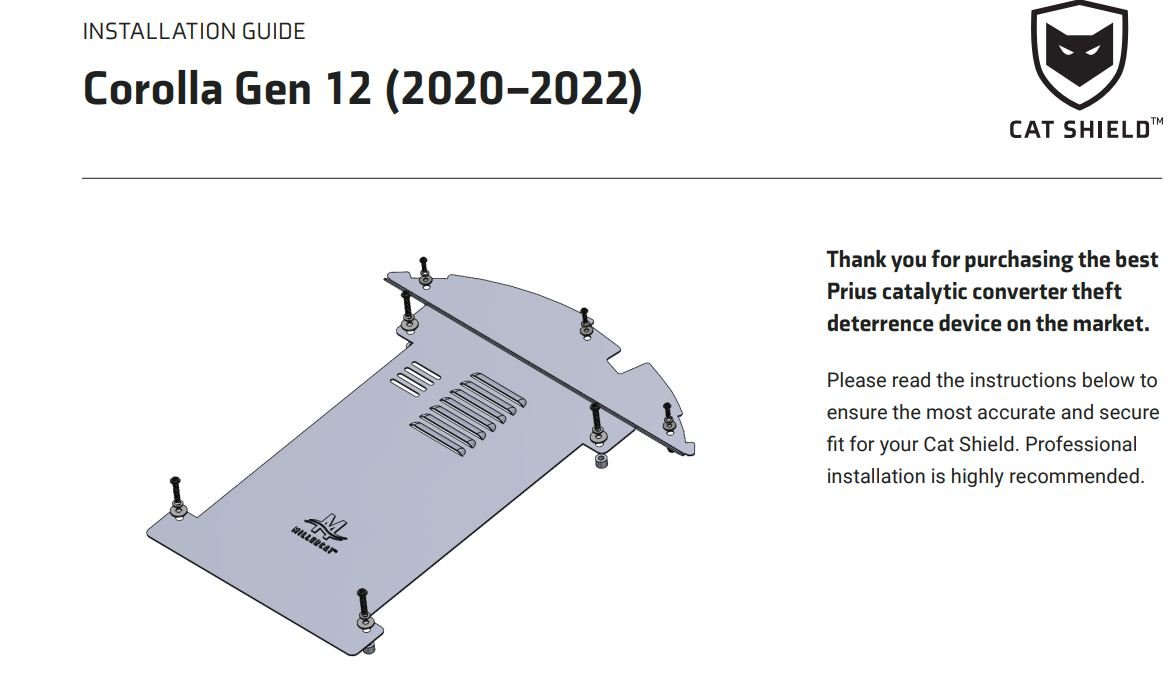
PARTS INCLUDED WITH YOUR CAT SHIELD

TOOLS REQUIRED
- Protective eyewear
- Bit driver
- 10mm socket
- 12mm socket
- 13mm wrench
- Panel fastener removal tool or flat head screw drive
- Drill · 25/64″ drill bit (no pilot bit)
- Rivet nut tool with M6 mandrel/head
INSTALLATION TIPS.
- Non-Hybrid versions may not have the splash shields that need removing. Steps involving the splash shield can be skipped.
STEP 1
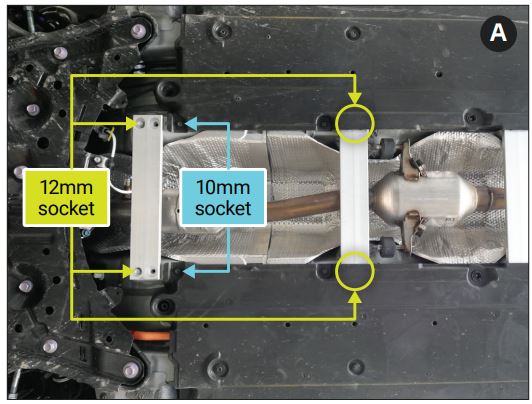
Remove front reinforcement brace bolts. Using a 12mm socket, remove the two rear bolts on the front reinforcement brace. (Removal of the entire reinforcement brace is not necessary.) Your vehicle may not have these bolts and this step can be skipped. Refer to image A.
STEP 2
Remove left and right splash shield bolts. Using a 10mm socket, remove the two front bolts holding the left and right floor panel splash shields. Refer to image A.
STEP 3
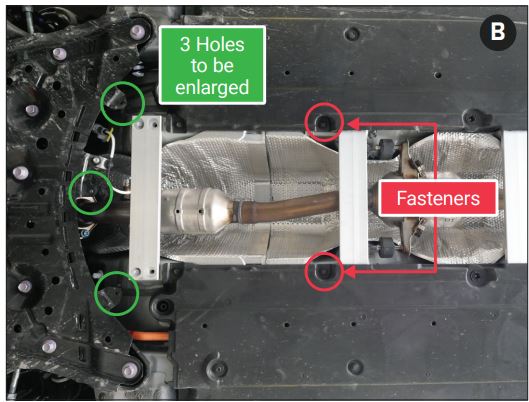
Remove splash shield fasteners. Using a fastener removal tool or a flat head screw driver remove the two fasteners holding the left and right side splash shield. (Removal of the entire splash shield is not necessary). Refer to image B.
Remove middle reinforcement brace bolts. Pull down the splash shield to gain access to the four bolts and remove them. (The reinforcement brace will be floating until the bolts are installed in Step 4.) Refer to image C.

STEP 4
Enlarge three holes. Using a step drill bit or the 25/64″ drill bit, enlarge the three holes in image B. These holes need to be enlarged to install the rivet nuts.
Install the rivet nuts. Using a rivet nut tool, install the three rivet nuts to the recently drilled holes. Please watch an instructional video if you have never used a rivet nut tool before.
STEP 5
Install Cat Shield. Place the Cat Shield up to the vehicle and slide the rear end of the shield between the splash guard and the vehicle. The splash guard will be covering the rear ears of the shield.
For vehicle with splash guards, use the flange bolt and spacer to fasten the rear end of the shield. Note that the spacer will go between the shield and the vehicle.
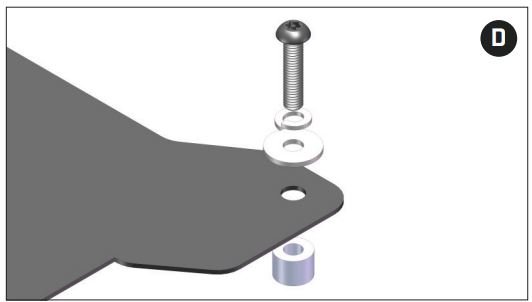
For vehicles without splash guards or owners who wish to use tamper-proof screws for all the fasteners, use the screws, lock washer, fender washer, shield and then spacer for the install. Refer to image D. *Owners with the splash guards can choose to use all four M8 tamper-proof screws too, but installation may be harder and will require a dog bone bit wrench to access the screw head with the splash shield in the way.
STEP 6
Install tamper-proof screws and spacers to the front brace. Prior to installing the front part of the Cat Shield, install the two 10mm bolts that were removed in Step 2. The Cat Shield will cover over these bolts once installed.
Refer to image D to see the order of hardware and place the spacer between the shield and vehicle and install the screws, lock washer, and fender washer through the shield and spacer. The spacer will ensure your shield remains as flat as possible.
STEP 7
Install three M6 screws to the front of the shield. Use the M6 tamper-proof screws, with the M6 lock washer and fender washer (in that order) to fasten the front part of the shield to the three rivet nuts from Step 4.
Complete installation. Use the provided tamper-proof bits and tighten the M6 and M8 tamper-proof screws (and flange bolt if used). Check each screw to ensure the shield is completely secured to the vehicle. Tighten the rear bolts of the Cat Shield. Reinstall the plastic fasteners that were removed in Step 3 to its original place. Refer to image B.
STEP 8
Apply Cat Shield sticker (optional). Place the sticker on the vehicle to warn thieves that the vehicle is protected by Cat Shield! Recommended placement: Rear liftgate window.
Congratulations! You are now #catshieldprotected. If you have any questions or feedback about our product, contact us at [email protected]. Don’t forget to tag us with your latest install using @millercatcorp and #catshieldprotected.
