Star Hanger 300 Green Glide User Manual

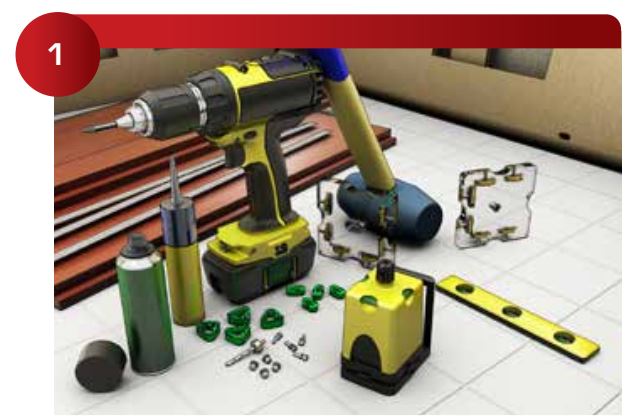 Required Tools; 300 Green Glide, 318 Drill Template, 311 Alignment Pins, 913 Pilot Drill, 5MM Center Point Drill & Stop, Dead Blow Hammer or 305-300 Hammer Head for Green Glide, Panel Adjuster, 1/32″ plastic laminate, Spray Contact Cement, Panel Adhesive.
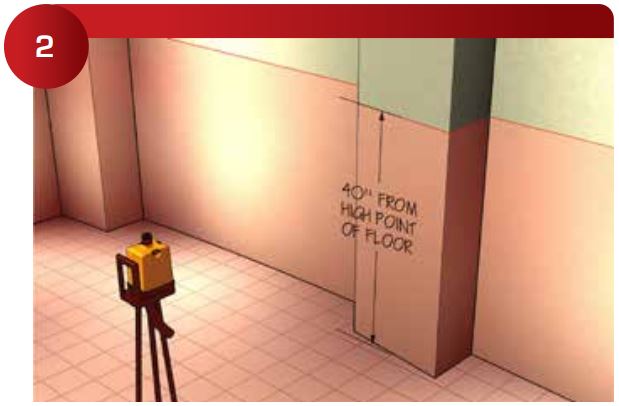 Carefully review the shop drawing to understand field alignment requirements. Find high point of the floor and set horizontal bench mark at any workable point.
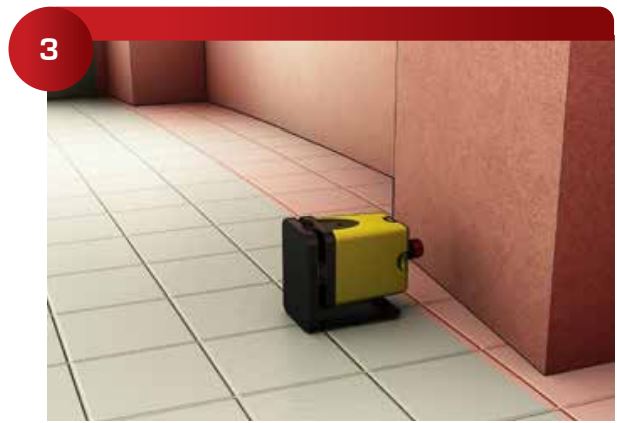
Determine greatest projection (bump out in wall) to determine face of panel horizontal layout.
Determine panel widths based on horizontal lines and field alignment requirements
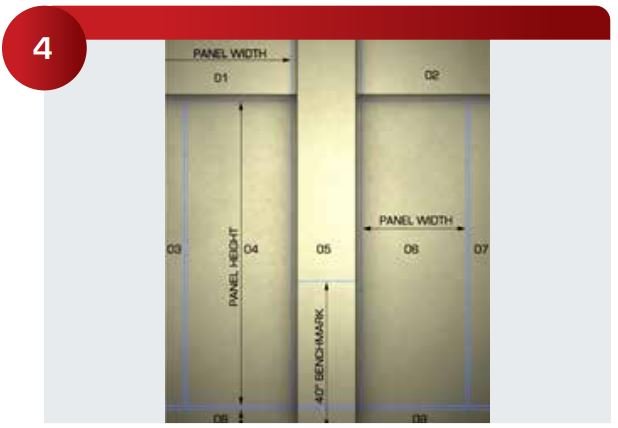 Field verify all required site dimensions based on face of panels for both field horizontal & vertical lines.
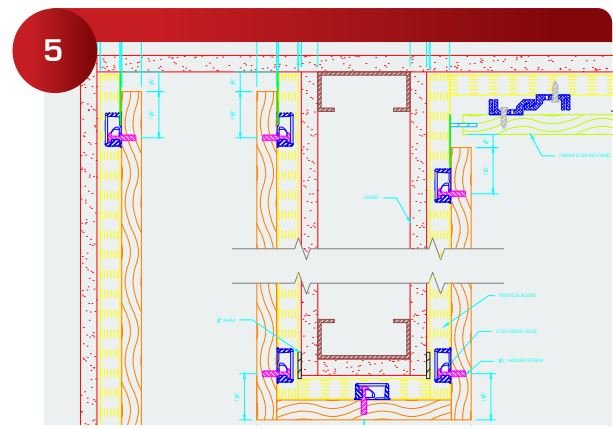 Check section details of all panel intersections to make sure field dimensions match face of panels, many details can be downloaded from Starhanger.com.
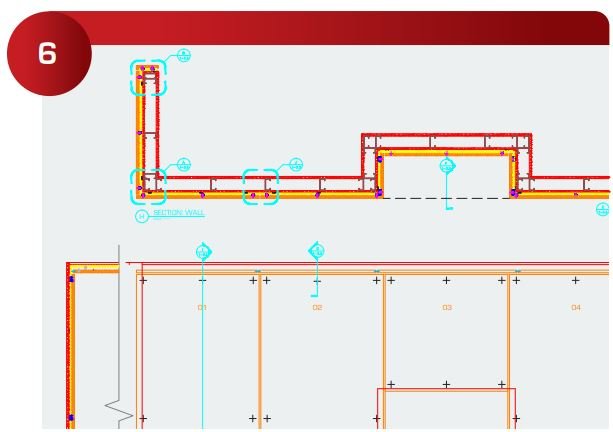
Revise shop drawn elevations and details based on the field verified horizontal and vertical level lines, end conditions, field changes, etc..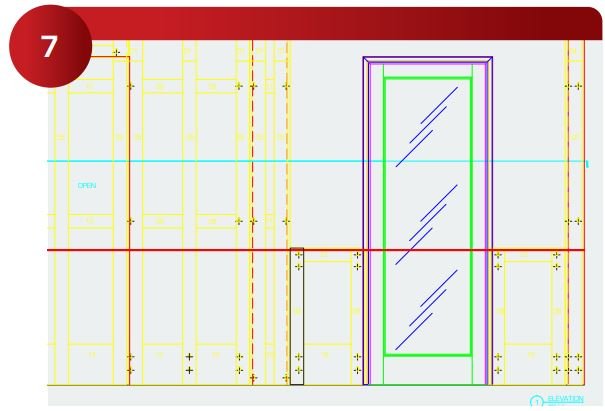
Revise shop drawings to reflect face of all panel sizes on primary drawing layer. Revise the furring layer to match panel sizes precisely, this a critical step.
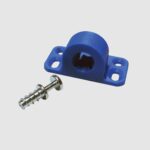
 It is helpful to set the 334 Mounting Screw 1-3/4″ to 2″ from panel corners to simplify mounting screw locating. (Useful Accessories: The 318 Drill Template, 2″ Offset (includes Template & Stops) helps speed this process.)
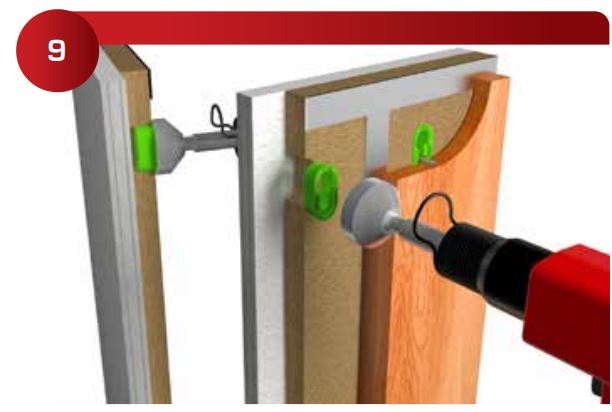
Install the 300 Green Glide using a Dead-Blow Hammer. (Useful Accessories: The 305-300 Hammer Head can speed up installation of the 300 Green Glide inserts.)
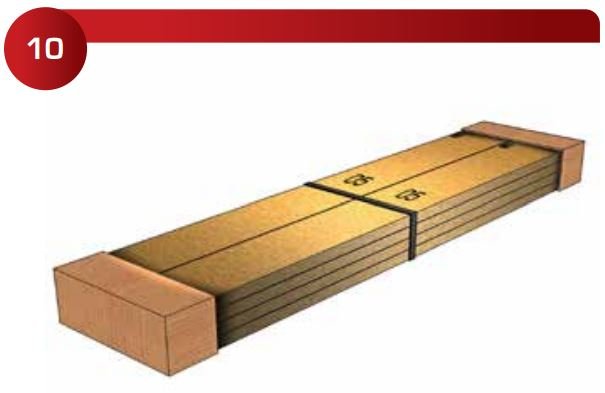 The pre-fabricated panel furring & panels can be packed flat for shipping.
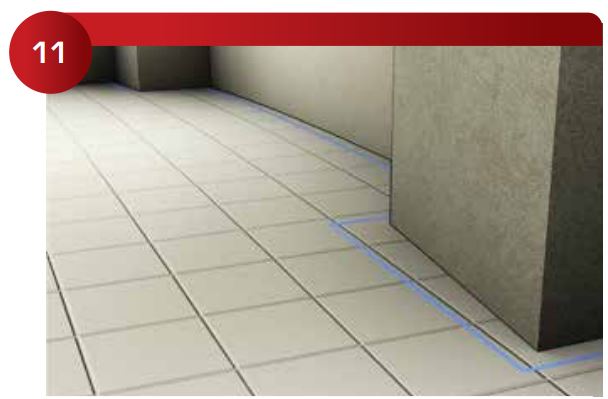
STARTING INSTALLATION: Rechalk and reverify all required site dimensions based on field horizontal & vertical level lines.
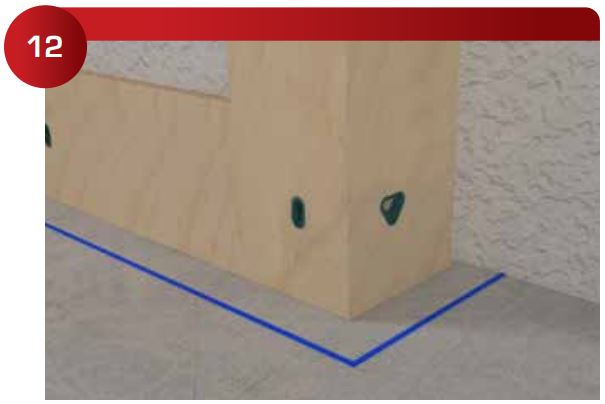 Adjust and set plumb all corners and outside edges of the prefabricated panel furring. The installation and fit of the prefabricated panel furring will verify the fit of the panels.
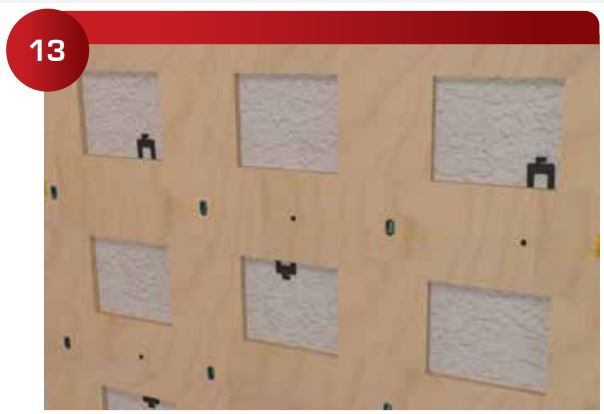 Use a string line or laser to shim, screw and glue all furring into place.
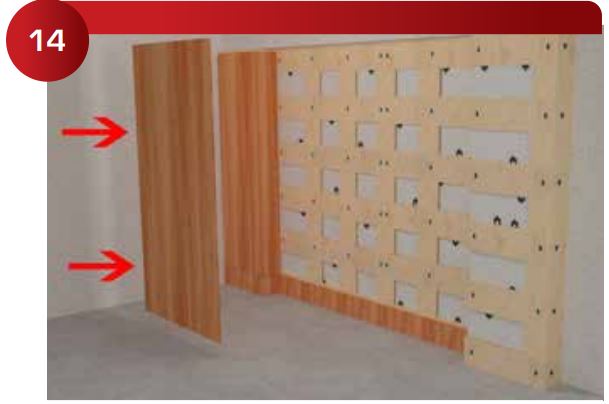 Locking the panels into place should be the simplest part of the process.
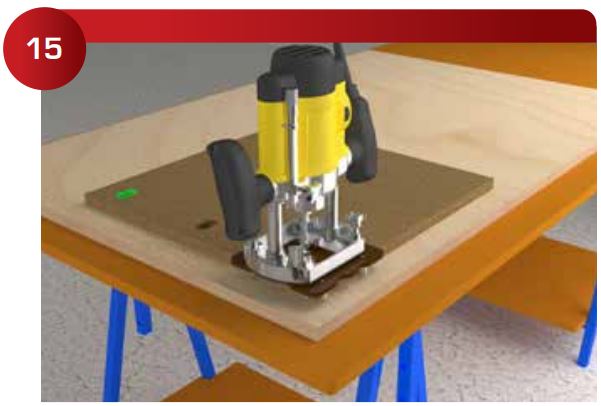
(TIP: If there is a bust or change in the process. Star Hanger sells field installation tools like 319 Green Glide Router Template/ 915 Router Bit/ 311 Green Glide Alignment Pins.)
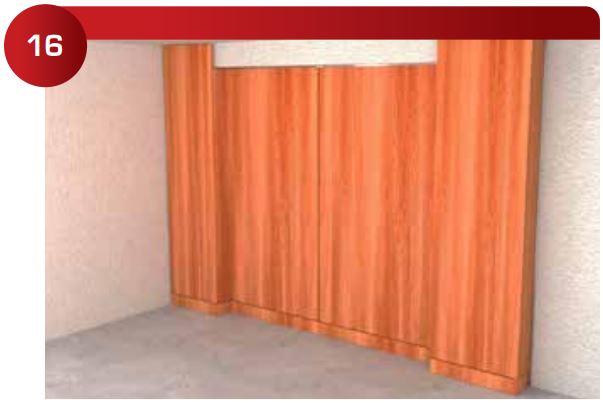 Finished room using prefabricated panel furring and the 300 Green Glide.

