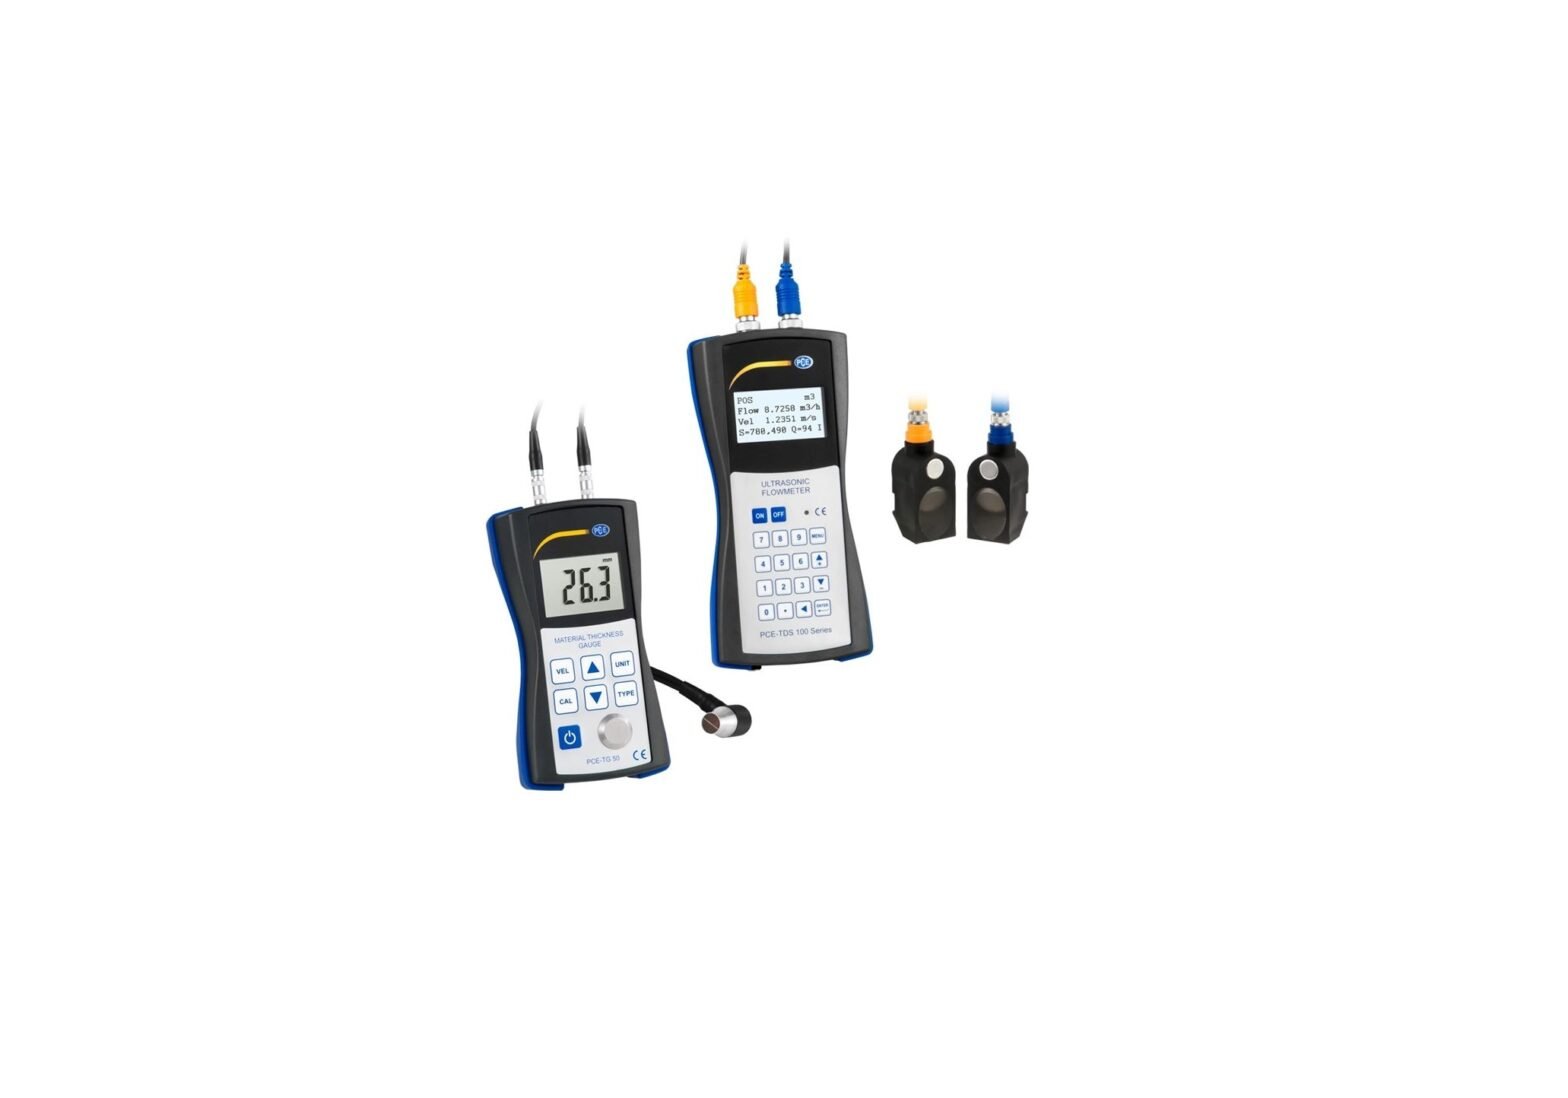
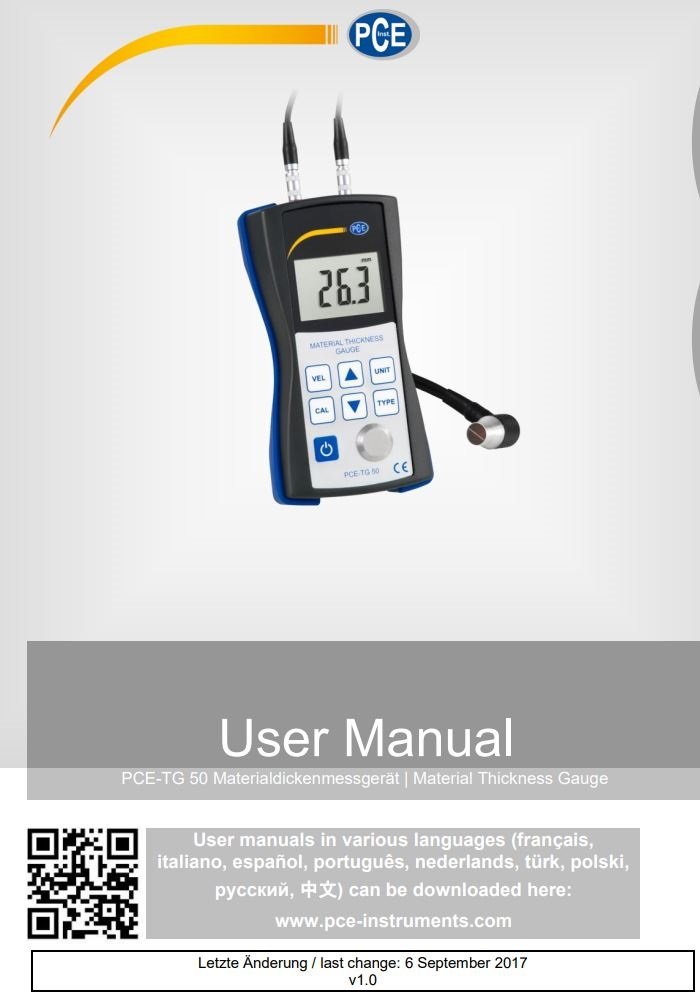
PCE-TG 50 Material Thickness Gauge User Manual
1 Safety notes
Please read this manual carefully and completely before you use the device for the first time. The device may only be used by qualified personnel and repaired by PCE Instruments personnel. Damage or injuries caused by non-observance of the manual are excluded from our liability and not covered by our warranty.
The device must only be used as described in this instruction manual. If used otherwise, this can cause dangerous situations for the user and damage to the meter.
- The device must only be used as described in this instruction manual. If used otherwise, this can cause dangerous situations for the user and damage to the meter.
- The instrument may only be used if the environmental conditions (temperature, relative humidity, …) are within the ranges stated in the technical specifications. Do not expose the device to extreme temperatures, direct sunlight, extreme humidity or moisture.
- Do not expose the device to shocks or strong vibrations.
- The case should only be opened by qualified PCE Instruments personnel.
- Never use the instrument when your hands are wet.
- You must not make any technical changes to the device.
- The appliance should only be cleaned with a damp cloth. Use only pH-neutral cleaner, no abrasives or solvents.
- The device must only be used with accessories from PCE Instruments or equivalent.
- Before each use, inspect the case for visible damage. If any damage is visible, do not use the device.
- Do not use the instrument in explosive atmospheres.
- The measurement range as stated in the specifications must not be exceeded under any circumstances.
- Non-observance of the safety notes can cause damage to the device and injuries to the user.
We do not assume liability for printing errors or any other mistakes in this manual.
We expressly point to our general guarantee terms which can be found in our general terms of business.
If you have any questions please contact PCE Instruments. The contact details can be found at the end of this manual.
2 Specifications
2.1 Technical specifications
| Measurement range | 1.2 … 200 mm (steel) |
| Accuracy | ±0.5 % rdg. ±0.1 mm |
| Resolution | 0.1 mm (0.001 inch) |
| Sound velocity | 800 … 9950 m/s |
| Units | mm / inch (switchable) |
| Power supply | 3 x 1.5 V AAA batteries |
| Calibration block | 5.0 mm (integrated) |
| Data output | RS-232 |
| Sensor | 5 MHz frequency Test surface: Ø 8.0 mm Contact area: Ø 10.2 mm Head: Ø 15.4 mm |
| Display | 4-digit LCD |
| Operating conditions | Temperature: -10 … 50 °C Relative humidity: <80 % |
| Material temperature | 0 … 50 °C (continuous) 50 … 85 °C (for 5 minutes, followed by cooldown to below 50 °C for 30 minutes) |
| Dimensions | 142 x 77 x 40 mm |
| Weight | 265 g (with batteries and sensor) |
2.2 Delivery contents
- 1 x material thickness gauge PCE-TG 50
- 1 x 5 MHz sensor
- 3 x AAA battery
- 1 x coupling gel
- 1 x carrying case
- 1 x user manual
- 1 x factory calibration certificate
2.3 Optional accessories
| Part no. | Item description |
| TT-GEL | Ultrasonic coupling gel |
| ST-TG 50 | Standard sensor for PCE-TG 50 |
| MP-TG 50 | Miniature sensor for PCE-TG 50 Ø 6mm |
| HTP-TG 50 | High-temperature sensor for PCE-TG 50 -10 .. .+300 °C |
| PCE-SOFT-TG 50 | Data transfer software incl. data cable |
| CAL-MT | ISO calibration certificate for material thickness gauges |
3 System description
3.1 Device
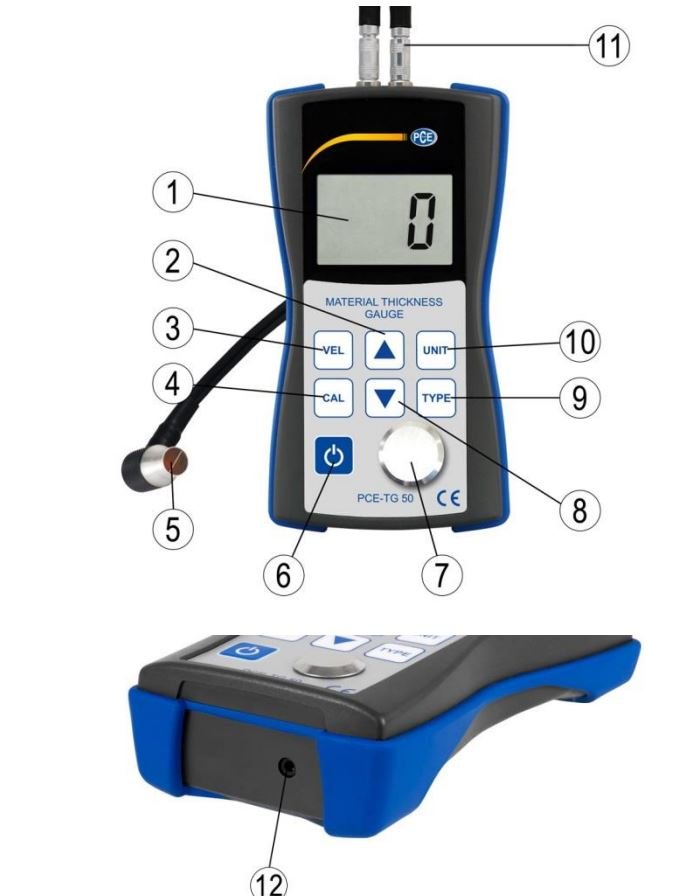
- Display
- Plus key
- Sound velocity key
- Calibration key
- Sensor
- On / off key
- Standard block
- Minus key
- Material selection key
- Unit key
- Sensor connection
4 Getting started
4.1 Power supply
When the battery level is too low, the battery icon will appear in the display. To change the batteries, open the battery compartment cover and replace the used batteries by new ones. Make sure the polarity is correct.
4.2 Material selection
Press the On / off key to switch on the device. Then press the material selection key. The display will now show a material code “cdxx” or ,,yyyy”. ,,cd” is the abbreviation for code and ,,xx” indicates the material number 1…11. The material numbers assigned to each material can be found in the chart below. If you wish to enter the sound velocity individually, you can select ,,yyyy”. The sound velocity must be entered in advance by pressing the sound velocity key.
| Number | Code | Material |
| 1 | cd01 | steel |
| 2 | cd02 | Cast iron |
| 3 | cd03 | Aluminium |
| 4 | cd04 | Copper |
| 5 | cd05 | Brass |
| 6 | cd06 | Zinc |
| 7 | cd07 | Quartz glass |
| 8 | cd08 | PE |
| 9 | cd09 | PVE |
| 10 | cd10 | Grey cast iron |
| 11 | cd11 | Ductile iron |
| 12 | yyyy | Ductile iron |
Press the Plus or Minus key to select a material code and confirm the code with the material selection key. The display now shows 0. If you select a code without confirming, the display will also show 0 after a few seconds and the material is considered as confirmed.
Attention! It is essential to select the material before making a measurement as otherwise the measured values will be incorrect.
5 Operation
5.1 Measurement
Press the On / off key to switch on the device and select the unit by pressing the Unit key.
Make sure the sensor is correctly connected to the device. If this is the case, will appear in the display.
Apply some coupling gel to the surface and press the sensor onto the material you want to measure. The reading will now be displayed until another measurement is made or until the meter is powered off.
5.2 Measurement with set sound velocity
Press the sound velocity key. The device immediately switches from the material selection to sound velocity mode. The sound velocity last set will be displayed. You can use the Plus and Minus keys to change the sound velocity value. At each keypress, the value is increased or decreased by 10 m/s. If any of the two keys is pressed and held for more than 4 seconds, the value will be changed by 100 m/s. Apply some coupling gel to the surface to be measured and press the sensor onto the surface. The reading will be shown on the display. If you do not know the material to be measured, do the following: Measure the thickness of the material at one point (e. g. with a caliper) and make a note of the thickness. Now measure with the meter and change the sound velocity until the displayed value is the same value as the one you wrote down. Write down the sound velocity set for the material. If you would like to make further measurements of the current material, you must set the determined sound velocity before you start a measurement.
6 Calibration
Apply some coupling gel to the 5 mm standard block and press the calibration key. CAL will be displayed.
Press the sensor onto the standard block. If the sensor is correctly connected, will be shown in the display. After that, 5 mm and CAL will be indicated. When the displayed value is stable, press the Calibration key again to apply the value and to get back to measurement mode. The calibration is now completed and the value is saved to the meter.
7 Warranty
You can read our warranty terms in our General Business Terms which you can find here: https://www.pce-instruments.com/english/terms.
8 Disposal
For the disposal of batteries in the EU, the 2006/66/EC directive of the European Parliament applies. Due to the contained pollutants, batteries must not be disposed of as household waste. They must be given to collection points designed for that purpose.
In order to comply with the EU directive 2012/19/EU we take our devices back. We either re-use them or give them to a recycling company which disposes of the devices in line with law.
For countries outside the EU, batteries and devices should be disposed of in accordance with your local waste regulations.
If you have any questions, please contact PCE Instruments.
![]()
PCE Instruments contact information
Germany
PCE Deutschland GmbH Im Langel 4 D-59872 Meschede Deutschland
Tel.: +49 (0) 2903 976 99 0
Fax: +49 (0) 2903 976 99 29
[email protected]
www.pce-instruments.com/deutsch
France
PCE Instruments France EURL 23, rue de Strasbourg 67250 SOULTZ-SOUS-FORETS France
Téléphone: +33 (0) 972 3537 17
Numéro de fax: +33 (0) 972 3537 18
[email protected]
www.pce-instruments.com/french
Spain
PCE Ibérica S.L. Calle Mayor, 53 02500 Tobarra (Albacete) España
Tel. : +34 967 543 548
Fax: +34 967 543 542
[email protected]
www.pce-instruments.com/espanol
United States of America
PCE Americas Inc. 711 Commerce Way suite 8 Jupiter / Palm Beach 33458 FL USA
Tel: +1 (561) 320-9162
Fax: +1 (561) 320-9176
[email protected]
www.pce-instruments.com/us
United Kingdom
PCE Instruments UK Ltd Units 12/13 Southpoint Business Park Ensign Way, Southampton Hampshire United Kingdom, SO31 4RF
Tel: +44 (0) 2380 98703 0
Fax: +44 (0) 2380 98703 9
[email protected]
www.pce-instruments.com/english
Italy
PCE Italia s.r.l. Via Pesciatina 878 / B-Interno 6 55010 LOC. GRAGNANO CAPANNORI (LUCCA) Italia
Telefono: +39 0583 975 114
Fax: +39 0583 974 824
[email protected]
www.pce-instruments.com/italiano
The Netherlands
PCE Brookhuis B.V. Institutenweg 15 7521 PH Enschede Nederland
Telefoon: +31 (0) 900 1200 003
Fax: +31 53 430 36 46
[email protected]
www.pce-instruments.com/dutch
Chile
PCE Instruments Chile S.A. RUT: 76.154.057-2 Santos Dumont 738, local 4 Comuna de Recoleta, Santiago, Chile
Tel. : +56 2 24053238
Fax: +56 2 2873 3777
i[email protected]
www.pce-instruments.com/chile
Hong Kong
PCE Instruments HK Ltd. Unit J, 21/F., COS Centre 56 Tsun Yip Street Kwun Tong Kowloon, Hong Kong
Tel: +852-301-84912
[email protected]
www.pce-instruments.cn
China
PCE (Beijing) Technology Co.,Ltd 1519 Room, 4 Building Men Tou Gou Xin Cheng, Men Tou Gou District 102300 Beijing China
Tel: +86 (10) 8893 9660
[email protected]
www.pce-instruments.cn
Turkey
PCE Teknik Cihazlari Ltd.ti. Halkali Merkez Mah. Pehlivan Sok. No.6/C 34303 Küçükçekmece – stanbul Türkiye
Tel: 0212 471 11 47
Faks: 0212 705 53 93
[email protected]
www.pce-instruments.com/turkish
User manuals in various languages (français, italiano, español, português, nederlands, türk, polski) can be downloaded here: www.pce-instruments.com Specifications are subject to change without notice.
![]()
