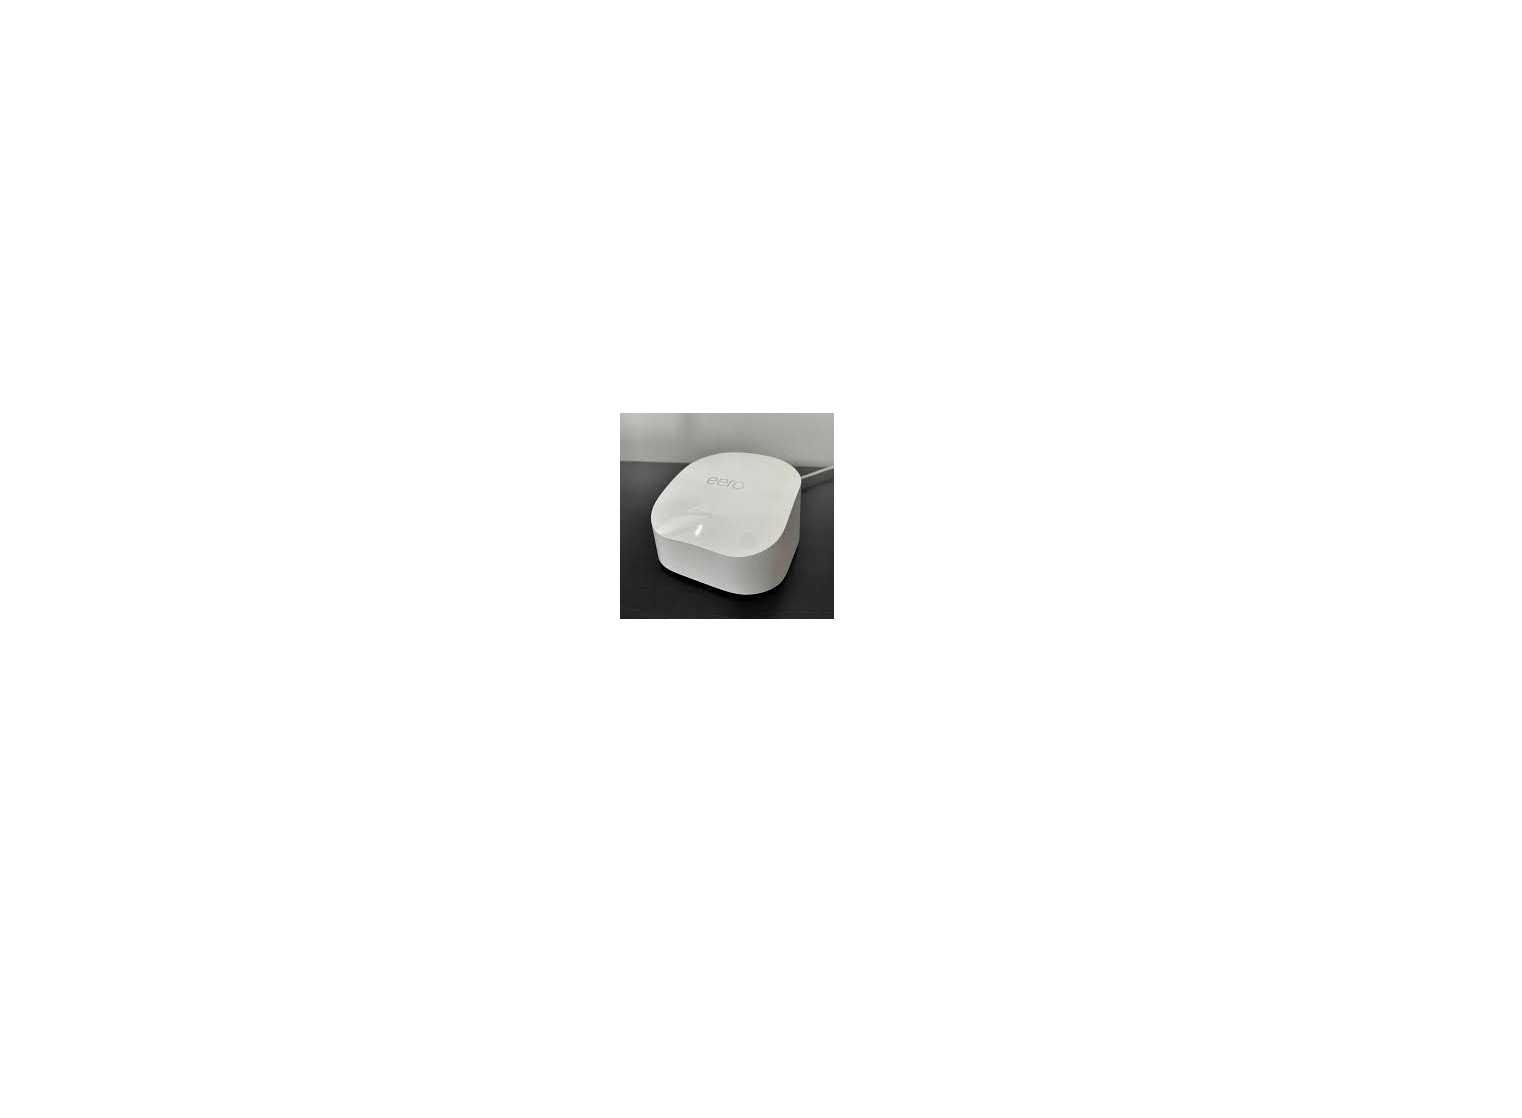
Amazon eero mesh WiFi router User Manual
How do I set up eero?
New to eero or just curious how long it takes to get your network set up? It’ll only take a few minutes, and your life will never be the same! Trust us. Our app will walk you through the process and do most of the heavy-lifting, but here’s a quick overview of what to expect.
Before you begin:
Setup requirements
- In the box:
o Ethernet cable
o eero(s)
o Power cord(s) - What you’ll need:
o eero iOS or Android app
o A 1st or 2nd-generation eero (eero Beacons cannot be used to start a network)
o Mobile device with a data connection (If you don’t have access to a data connection, see
our workaround instructions here.)
o Internet service
o Cable or DSL modem (if required)*
o *Don’t know what a modem is? Unsure if you have one? Find out here.
Here is how to get started getting your eero network online:
STEP 1: Download the eero app for iOS or Android:
Download the eero app – you can find it on the Apple Store or Google Play. eero supports both iOS and Android (check here for details on the versions we support). You’ll need the app to set up your eero network. You won’t be able to set up your system on a web browser.
STEP 2: Tell us about your home
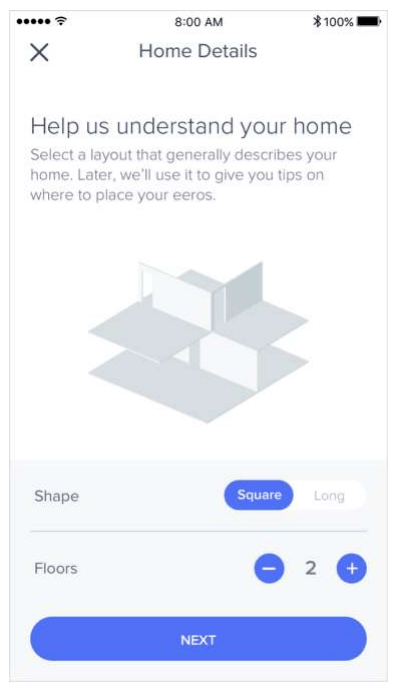
When you open the eero app for the first time, we will first ask you to tell us a bit more about your home. This allows us to make suggestions on where to place your additional eeros.
STEP 3: Create an eero account
You’ll need to enter your phone number and email address. We’ll send a verification code to your mobile phone or email address. Enter this code on the verification screen of the app to create your account.
STEP 3: Set up your eero
The eero app will guide you through setting up your gateway eero. It’s three easy steps:
- Unplug your modem. If you have other wireless equipment connected to your modem, please unplug it as well.
- Connect your eero (not eero Beacon) to your modem using the Ethernet cable. You can use either of the Ethernet ports on the back of your eero.
- Plug your eero in with the power adaptor that came in the box. Then plug your modem back into power. For placement tips, including DO’s and DON’Ts, visit here.
STEP 4: Create your eero network
Now that you’ve got everything plugged in, it’s time to create your eero network.
After tapping Next, the eero app will begin to look for your eero. You will notice that your gateway eero’s LED will begin to flash blue and then turn solid once found. Once your eero has been detected, you will select a name for your eero, such as its location.
- If prompted, you may need to enter your eero’s serial number, which is located on a sticker attached to the bottom of your eero. Just look for a barcode with the letters SN on it – it’s small, but it’s there
Once you’ve selected a name for your eero, you will choose your network name (SSID) and network password. This is how devices will join your network.
- If you’re replacing an existing router, one easy option for choosing a network name (SSID) and password is to simply reuse your current SSID and password. This way, you won’t have to reconnect devices that were previously on the network.
- Keep in mind that running two networks with the same SSID can be problematic. If you have a modem/router combo device – a single unit, often rented from your ISP that acts as your modem and router – please be sure to enable bridge mode on that device. Need help? Give us a call and we’ll walk you through it.
Tap Next and your eero will complete setup!
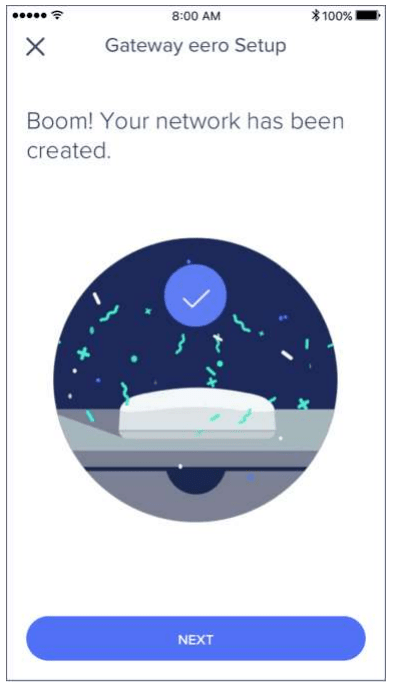
STEP 5: Add eeros to your network
Once you’ve set up your gateway eero, the eero app will walk you through steps to set up additional eeros or eero Beacons on your network. eeros can be added wirelessly or by Ethernet backhaul, while eero Beacons can only be added wirelessly. If you need help with placement, we’ve got lots of tips here. It’s a great idea to familiarize yourself with these tips before getting started so that you can optimize placement throughout your home from the get go.
Step 6: Connect devices to your eero network
One final (and important) step is to remember to connect all of your devices to your new eero network. To do this, simply find your eero network on your device, enter the network password that you’ve created, and get connected.
If you experience any trouble reconnecting specific devices to your new eero network, try disconnecting and reconnecting WiFi on the device. If that doesn’t work, try rebooting the device and then reconnecting to the network once it powers back on.
If you have any questions, don’t hesitate to reach out. We’re here to help.
Why is a data connection necessary for setting up my eero network?
When you are creating an eero network, we recommend using a device that has a data connection. This is because at a certain point during setup, you will briefly not have any WiFi as you will need to swap out your existing router for your eero. In order for your new eero to register and bring your network online, your mobile device will need an available connection to the internet.
How do I set up my eeros if I don’t have cell data service?
If you don’t have cell data service where you live, please take the following extra steps when setting up your eeros:
- Rather than plugging your gateway eero into your modem, plug it into your existing router during setup (This is called ‘double NATing’ your network. Please see our tips on how to do that here). This way, you can use your current WiFi network to complete the setup and switch over to your eero network once setup is complete.
- If you have a standalone modem and router, you can remove the router once your eero network is up and running. Simply unplug the eero from your router, power cycle your modem, and then plug your eero directly into the modem. When power cycling your modem, please be sure to wait until your modem is fully powered back on before plugging your eero into it. Depending on the modem, this may take up to 3–5 minutes. After you plug your eero into your modem, you’ll no longer need your old router.
- If you have a modem/router combo device, you can put that device in bridge mode for optimal network performance.
As always, if you have any problems, don’t hesitate to contact us.
How do I set up my eero if I want to keep my existing router?
To get the most out of your eero WiFi system, we recommend having your eero WiFi system replace your current router and having your gateway eero plugged directly into your modem. However, if you’d like to keep using your existing router, you absolutely can.
In this scenario, you will have two options for using your eeros: putting them in bridge mode or double NAT-ing them. We will go a bit more into each of these use cases below.
Bridging your eeros
The first option you have is putting your eeros into bridge mode. In this scenario, you will still get all the benefits of eeros mesh. However, you will allow your upstream router manage the connection between your network and ISP. It should also be noted that when using eeros in bridge mode, you will lose many advanced features.
If you’d like to bridge your eeros, please see this article.
Double NAT-ing your eeros
While it sounds a bit complicated, double NAT- ing your eeros is fairly simple.
If you have a separate router and modem, don’t plug your gateway eero directly into your modem, as the eero app suggests. Instead, plug your gateway eero into your existing router. From there, follow the remaining setup instructions in your eero app.
If you have a modem/router combo device, simply plug your gateway eero into the combo device and follow the setup instructions from there. In this case, you also have the option of putting your modem/router combo device into bridge mode, so it’ll only act as a modem. For more, see this article.
When double NAT-ing, be sure to use a different SSID and password for your eero network than your existing network. Running two networks with the same SSID simultaneously will lead to technical complications.
What advanced features does eero support?
The following advanced features can be found from within the Network Settings page of the eero application menu:
- Static IP address setup: Once you’ve created your eero network, you can manually set a static IP address in the eero app. Open the eero app menu and tap on Network Settings. Under the Advanced features menu, tap Internet connection. Tap the Static IP bubble, and enter the information required for your device.
- DNS: Your DNS translates an address like www.eero.com to an IP address that your phone or computer can understand. Your ISP typically provides an automatic DNS server that resolves web addresses. However, if you’d like to set a Custom DNS, choose DNS under Advanced settings (from the Network Settings page), and tap Custom DNS, then enter your primary and secondary DNS.
- DHCP & NAT: Under the DHCP & NAT section of Advanced settings, you can configure the way your eero network assigns IP addresses to the connected devices in your home. If you choose Automatic, we will automatically choose the best settings for your network. If you have a particularly complex home network, you can set custom IP address settings for your eero network. You’ll need to tap Manual, then choose your IP address prefix and specify the lease range manually. Finally, you can choose to put your eero mesh network in Bridge mode. If you choose to put your eero network in bridge mode, it will still provide WiFi access but you’ll need another router to provide network services.
- Reservations & Port Forwarding: Under this Advanced setting, you can assign IP reservations and port forwarding rules for devices on your eero network. Port forwarding allows you to manually open an Internet port for a single client, to let traffic pass directly through to that machine. For example, if you wanted to run a FTP server on your laptop with IP address of X.X.X.X, you might create a port-forward on port 21 that directs TCP traffic to that IP address through your eero. Check out our detailed directions here on how to set up port forwarding.
- UPnP: Universal Plug and Play (UPnP) allows devices like game consoles and media centers to open direct connections to other devices on the Internet. We enable this feature by default. If you’d like to turn it off, toggle the slider so it’s no longer green.
How do I configure port forwarding?
Port forwarding can be configured in Advanced settings in the eero app.
To set up port forwarding, follow these steps:
- Open the eero app on your phone
- Tap on the hamburger menu icon in the top left corner
- Choose Network Settings
- On the bottom of the screen, tap “Advanced settings”
- Once you’re in Advanced settings, tap Reservations & Port Forwarding
- Proceed to Add a reservation
- Assign permissions to an already connected device, or manually add a new device
- You can now edit the permissions with a specific IP address, MAC address and open a specific internal/external port. You can also select a protocol for both TCP & UDP or either TCP or UDP.
- When you’ve finished editing permissions and selecting protocols, click Save on the top right corner
Hairpin NAT support
Hairpin NAT — also known as NAT loopback and Hair pinning — is an advanced network feature that allows you to access port forwarded devices from inside the network using an external IP address — is now automatically enabled for all networks running eero OS version 3.3 or later. You can check your network version by following these steps.
In order to use this feature, you will need to have configured a port forward on your network and ensure that the port needed to reach the network isn’t blocked by another device (such as an upstream router)
Does eero support NAS?
eero supports network attached storage (NAS). You can use one of the additional Ethernet ports on your eero to attach wired devices, like a NAS attachment, as long as your NAS supports a connection through Ethernet. Currently eero does not support connecting NAS over USB.
Download Manual PDF
Amazon eero mesh WiFi router
User Manual PDF Download
