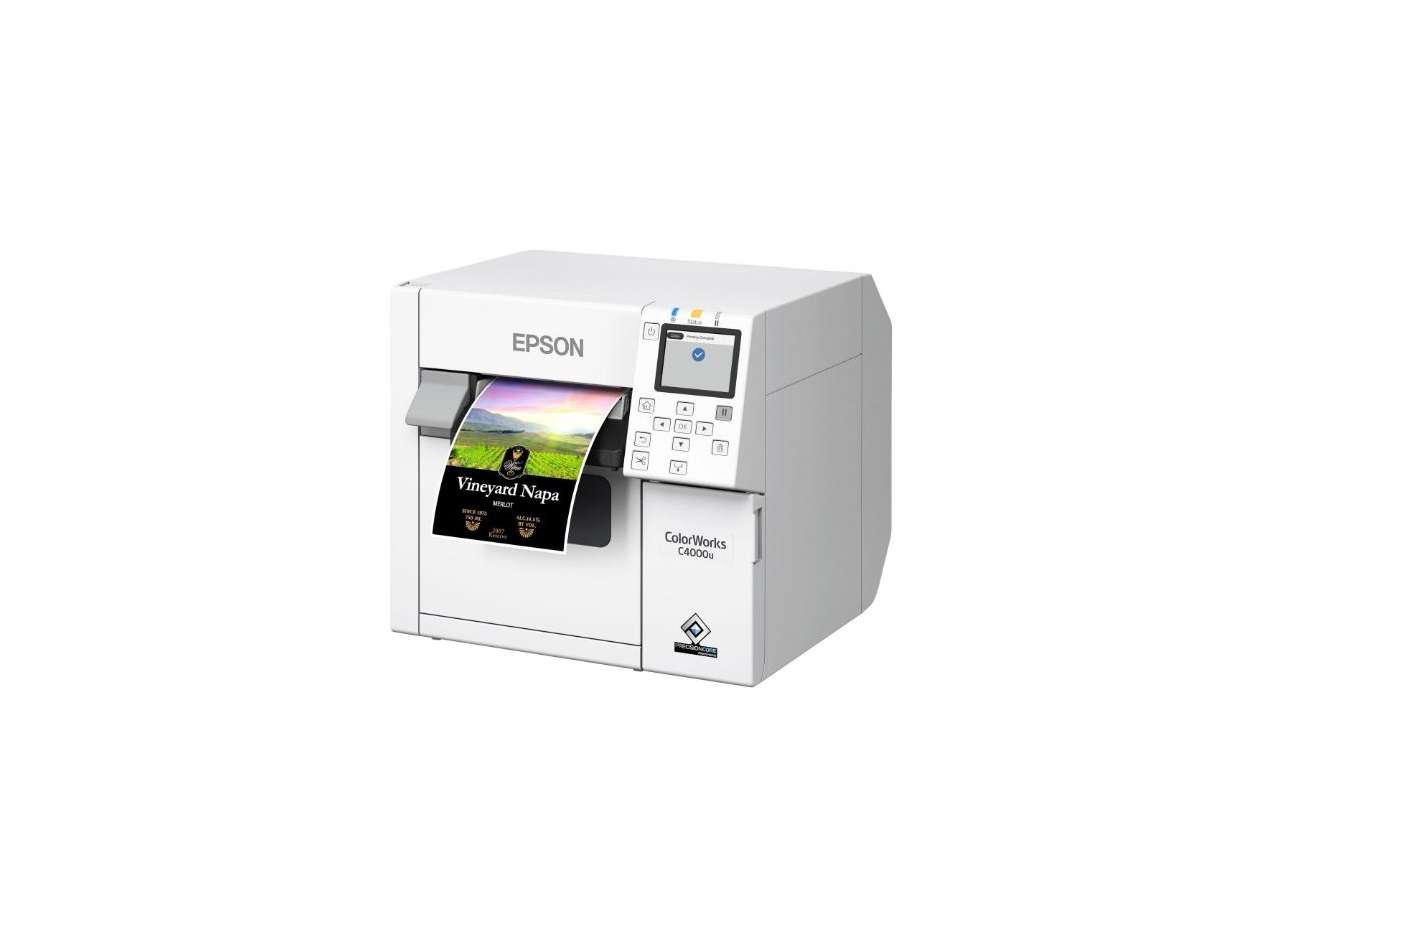
EPSON CW-C4000 Series Color Label Printer User Manual

Unpack.
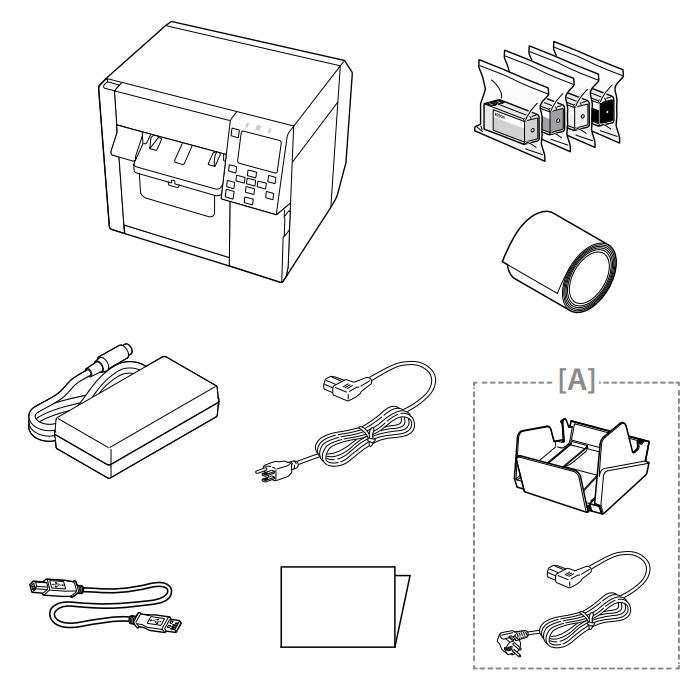
Make sure that you have all the items shown below. Depending on the product model, [A] may not be included.
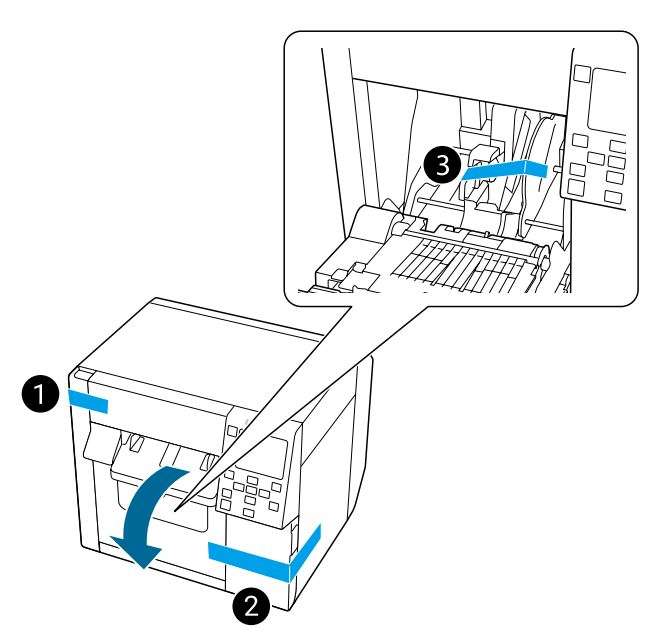
Remove all the protective materials.
Make sure to remove the materials inside the product.
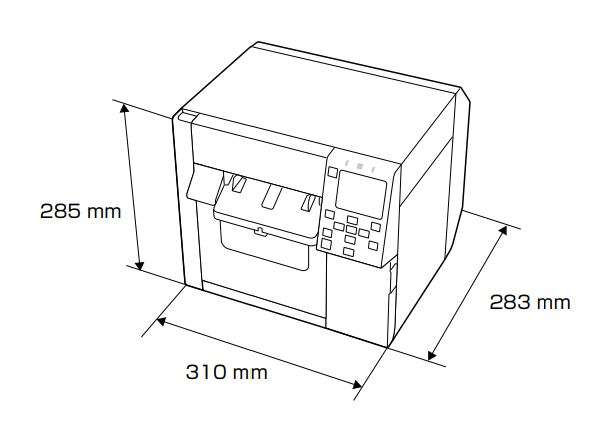
Place the printer on a flat surface.
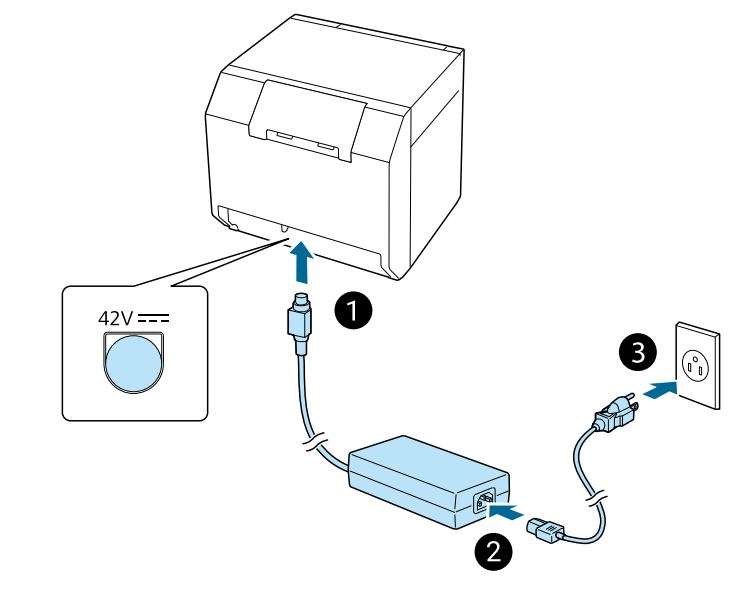
- Insert the AC adapter’s DC connector into the printer’s DC-in connector all the way in.
- Insert the AC cable connector into the AC adapter’s AC inlet all the way in.
- Plug the AC cable into a grounded outlet all the way in.
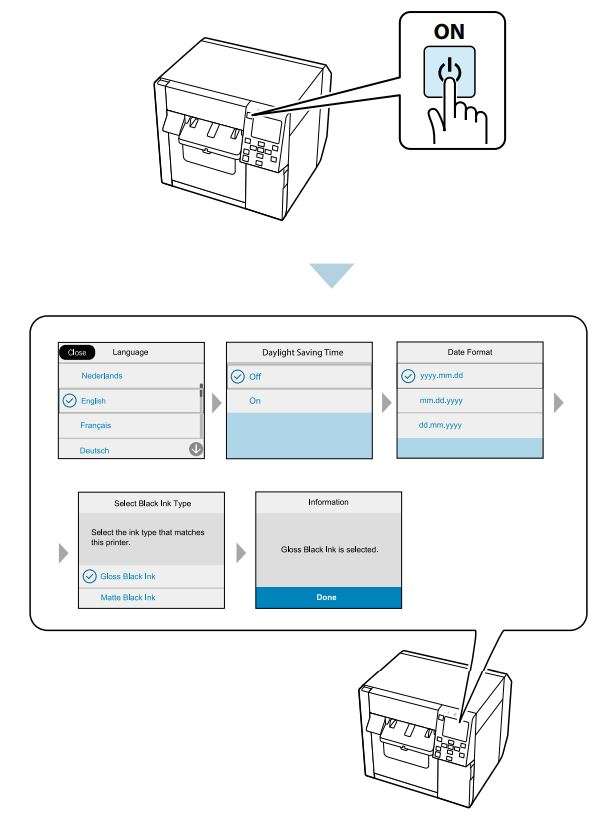
Hold down the ![]() (power) button until ⚡ the (power) LED lights up to turn on the printer. Set language and date/time, then select which type of black ink you use.
(power) button until ⚡ the (power) LED lights up to turn on the printer. Set language and date/time, then select which type of black ink you use.
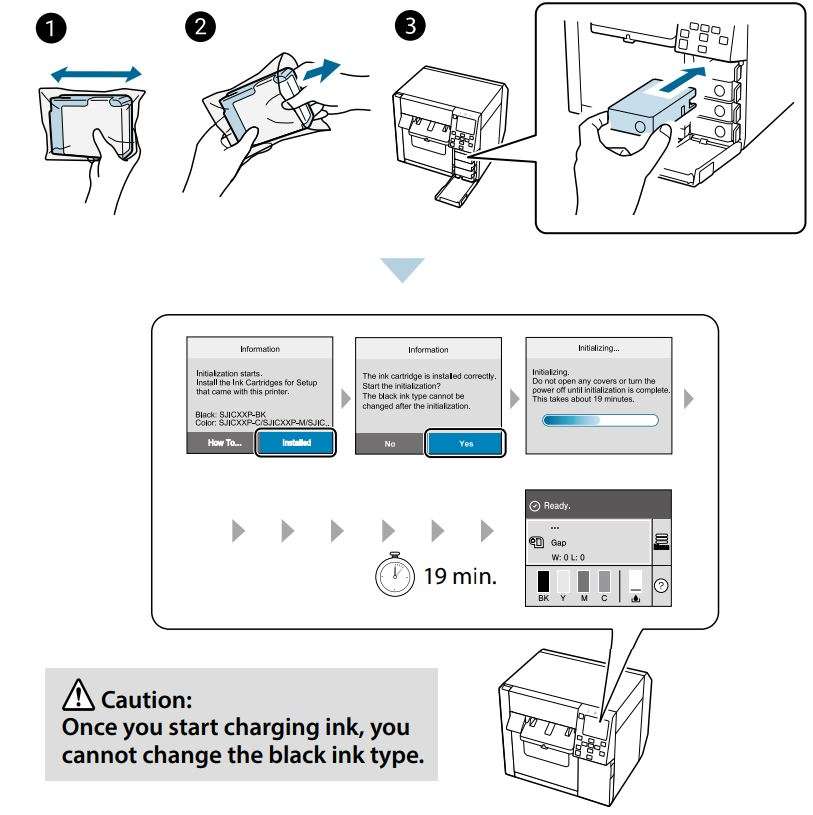
Shake the ink cartridges and then unpack and install them following the on-screen instructions. Wait until ink charging is finished and confirmation screen is displayed.
Download the printer driver from the website shown below.
Click the exe file and follow the on-screen instructions to install the driver and connect to the printer.
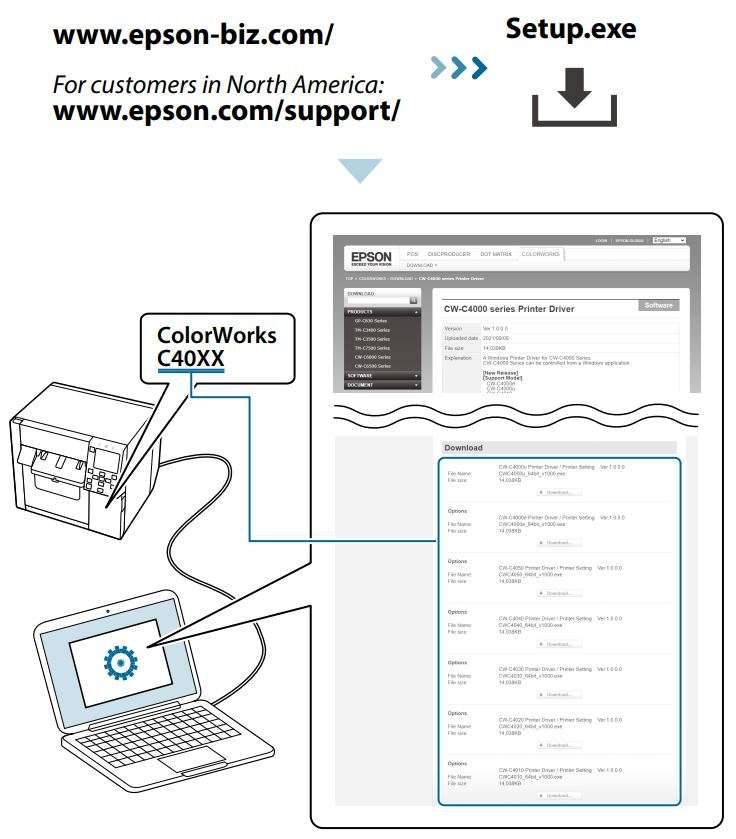
www.epson-biz.com/
www.epson.com/support/
Make the paper settings on the printer driver, and then load paper on the printer. See the video (QR code) or the User’s Guide.
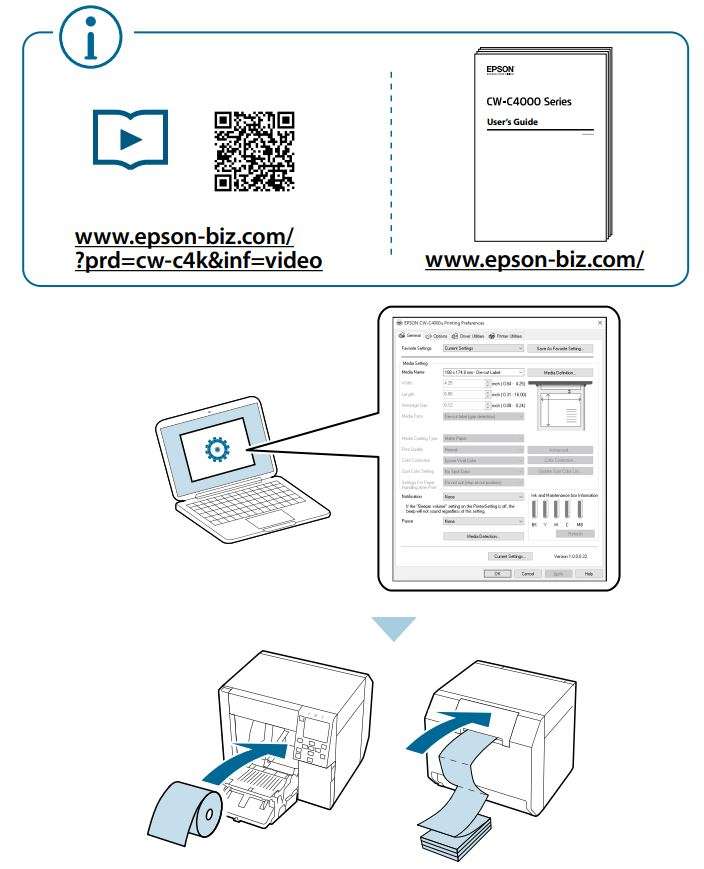
www.epson-biz.com/?prd=cw-c4k&inf=video
www.epson-biz.com/


Download PDF
EPSON CW-C4000 Series Color Label Printer User Manual PDF Download
